Poor audio quality undermines content credibility and audience engagement, regardless of the visual production value or depth of information. Muffled speech, distracting background noise, or sudden volume shifts alienate listeners, leading to higher bounce rates and reduced message retention. Addressing common audio problems proactively ensures your content maintains a professional standard, reinforcing your brand's authority and commitment to quality.
Addressing Background Noise and Hum
Background noise, ranging from a persistent hum to intermittent environmental sounds, is a frequent culprit in degrading audio quality. Its presence indicates a lack of control over the recording environment or inadequate equipment setup, directly impacting clarity and listener fatigue.
Mitigating Environmental Sounds
Controlling the recording environment is the primary defense against unwanted noise. Soft furnishings, carpets, and even strategically placed blankets absorb sound reflections, reducing room echo and external sound ingress. Positioning the microphone closer to the speaker (within 6-12 inches) leverages the proximity effect, where the microphone picks up more direct sound and less ambient noise. For persistent hums, often caused by electrical interference, ensure all audio equipment shares the same power strip, or use balanced XLR cables which are less susceptible to interference than unbalanced TS cables.
Utilizing Noise Reduction Techniques
After optimizing the physical environment, software-based noise reduction can refine the audio. This involves using noise gates to cut off sound below a certain threshold, effectively silencing the microphone when no one is speaking. More advanced de-noising algorithms can identify and reduce constant background hums or static. These tools are most effective when applied subtly; aggressive noise reduction can introduce artifacts, making the audio sound unnatural or "watery."
Resolving Distortion and Clipping
Distortion and clipping manifest as harsh, crackling, or fuzzy sounds, indicating that the audio signal is too strong for the recording equipment to handle. This issue is particularly detrimental because clipped audio is almost impossible to fully repair without significant quality loss, directly impacting the perceived professionalism of the content.
Implementing Proper Gain Staging
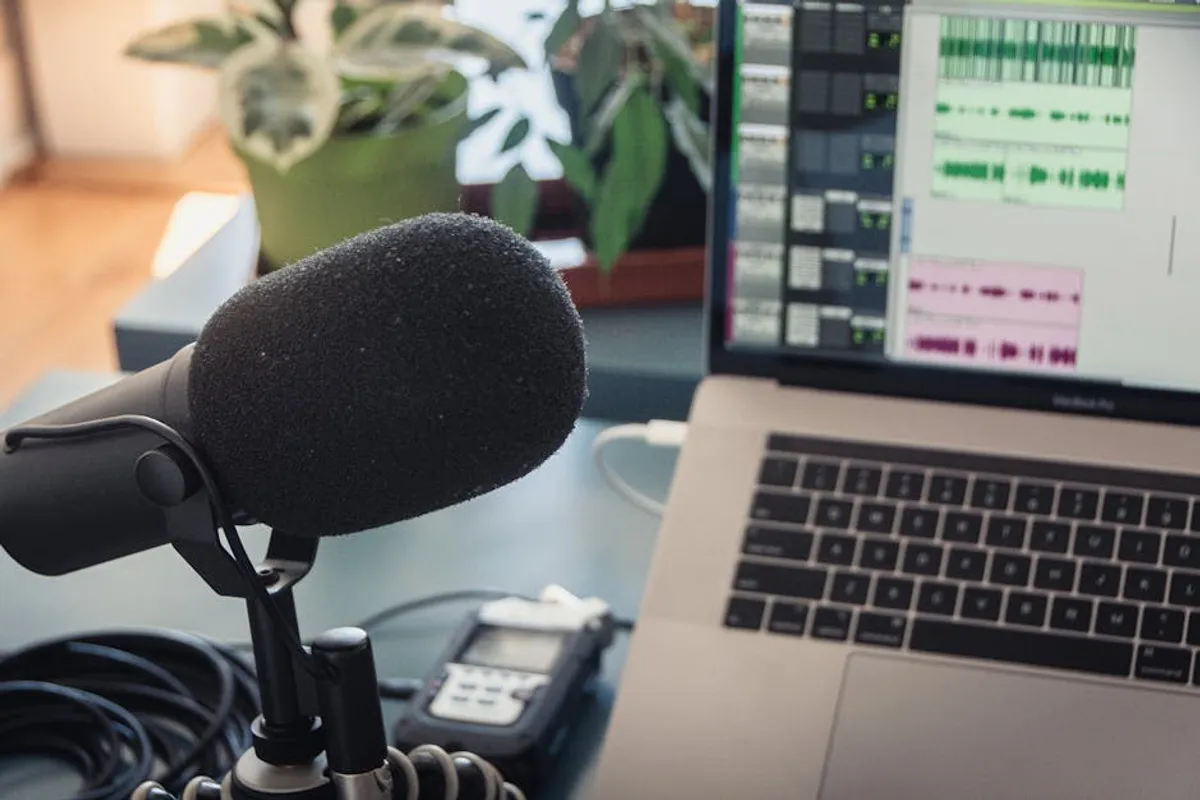
The core of preventing distortion lies in correct gain staging. Gain refers to the input level of the microphone signal before it hits the recording device. Setting this level too high causes the signal to exceed the system's capacity, resulting in clipping. Adjust the microphone's gain or the input gain on your audio interface so that the audio peaks consistently between -12dB and -6dB on your meter. This provides sufficient headroom to accommodate unexpected loud sounds without distortion. Avoid recording "hot" (at very high levels) to maximize volume; volume can always be increased cleanly in post-production, but clipped audio cannot be unclipped.
Selecting Appropriate Microphones
Microphone choice also plays a role. Microphones have different maximum Sound Pressure Level (SPL) ratings. If recording very loud sources (e.g., shouting, loud instruments), a microphone with a higher SPL handling capability will be less prone to distortion. Dynamic microphones generally handle higher SPLs better than condenser microphones, making them suitable for aggressive vocal delivery or loud instruments.
Correcting Low Volume and Weak Signals
Low volume or a weak signal forces listeners to strain, often leading them to abandon the content. This issue indicates insufficient signal strength from the microphone to the recording device, making the audio susceptible to noise floor issues when amplified later.
Optimizing Input Levels and Power
Ensure the microphone's gain is set appropriately, as discussed in gain staging. For condenser microphones, verify that phantom power (+48V) is activated on your audio interface or mixer; without it, these microphones will not operate or will produce a very weak signal. Check all cable connections for firmness and integrity. A loose or faulty cable can cause signal dropouts or a significantly attenuated signal. If using a USB microphone, ensure it is directly connected to a powered USB port, not through an unpowered hub, which can sometimes lead to insufficient power delivery.
Pro Tip: Always perform a sound check before recording. Speak or perform at your typical volume, monitoring the input levels on your recording software or device. Aim for peaks around -12dB to -6dB to ensure a strong, clean signal with adequate headroom, preventing both clipping and low volume issues.
Managing Echo and Reverb
Excessive echo or reverb makes audio sound distant, hollow, or as if recorded in a large, empty room. This spatial characteristic can make speech unintelligible and detract from the intimacy of the recording, creating an unprofessional distance between the speaker and the audience.
Acoustic Treatment for Reverberation
Reverb is primarily a room acoustics issue. Hard, reflective surfaces (bare walls, large windows, hardwood floors) cause sound waves to bounce around, creating echoes. Introduce soft, sound-absorbing materials into the recording space. This includes heavy curtains, upholstered furniture, rugs, bookshelves filled with books, and acoustic foam panels. Even temporary solutions like hanging blankets or duvets can significantly reduce reverberation. Position the microphone away from corners and large flat surfaces to minimize early reflections.
Software De-Reverberation
While physical acoustic treatment is the most effective solution, software plugins can help reduce existing reverb in recorded audio. These de-reverb tools analyze the sound and attempt to separate the direct signal from the reverberant tail. Like noise reduction, de-reverb should be used sparingly, as over-processing can introduce unnatural artifacts. It is always better to capture dry audio and add desired reverb effects in post-production if necessary.
Troubleshooting Latency and Synchronization Issues
Latency, the delay between an audio input and its output, and synchronization problems, where audio and video fall out of alignment, are critical issues for live streaming, remote collaboration, and video production. These problems disrupt the natural flow of communication and can make content appear amateurish.
Optimizing System Performance
Latency is often a software or hardware buffer issue. In your Digital Audio Workstation (DAW) or audio interface control panel, reduce the buffer size. A smaller buffer means less delay but requires more processing power from your computer. If you experience dropouts or crackling, increase the buffer size slightly until stability is achieved. Ensure your audio interface drivers are up to date, especially if using ASIO drivers on Windows, which are designed for low-latency performance. Close unnecessary applications running in the background to free up CPU resources.
Synchronizing Audio and Video
For synchronization, ensure all recording devices (camera, external audio recorder) are set to the same sample rate (e.g., 48kHz). Using a clapperboard or a distinct sound cue at the beginning of a recording helps align audio and video tracks in editing software. Some professional setups utilize timecode generators to precisely synchronize multiple devices, eliminating drift over longer recordings.
Maintaining Optimal Audio Quality
Consistently high-quality audio is not accidental; it results from diligent setup, informed troubleshooting, and a commitment to detail. By systematically addressing common problems like background noise, distortion, low volume, echo, and latency, you ensure your message is delivered with clarity and impact. Invest in understanding your equipment, optimize your recording environment, and leverage software tools judiciously. The effort translates directly into a more professional product and a more engaged audience.
Frequently Asked Questions
Why does my audio sound muffled or unclear?
Muffled audio often results from poor microphone placement (too far from the source, or off-axis), an acoustically "dead" room, or excessive low-frequency content. Ensure your microphone is close to the speaker, consider adding some high-frequency boost with an equalizer, and check for any filters on your microphone or interface that might be cutting high frequencies.
How can I prevent my microphone from picking up keyboard clicks or mouse sounds?
Position your microphone strategically, typically closer to your mouth and further from the keyboard. Use a directional microphone (cardioid, supercardioid) that rejects sounds from the sides and rear. A noise gate can also help mute the microphone when you're not speaking, preventing incidental clicks from being recorded.
What is the difference between gain and volume?
Gain refers to the input level of an audio signal, controlling how much signal goes into your recording device. Setting it correctly is crucial to prevent clipping. Volume (or output level) controls how loud the sound is played back. You adjust gain at the recording stage and volume at the monitoring or playback stage.
Can software fix all audio problems?
No. While software can significantly mitigate many audio issues (noise reduction, de-reverb, equalization), it cannot fully restore severely damaged audio, such as clipped signals. Software is best used for subtle enhancements and corrections. The foundation of good audio always starts with a clean recording from a well-prepared environment and proper equipment setup.